
After completing the Persimmon Flower background, I felt the coat needed something. Referencing vintage firemen’s coats I decided to go with a plain stitch, echoing the technique of stitching together multiple layers of cotton to make the coats very thick. Historically, the coat would be drenched in water before the firefighter went forth to battle a fire. The soaking wet layers of cotton would be very heavy, but also protective.
The printed design is of an open coat viewed from the back. With a real coat the back would be two panels of fabric wide, the front two more panels wide. I lined up the ruler along one of the imaginary seam lines between a front and back panel, and started stitching in the area with Indigo thread. Click on any of the images to get a closer view.
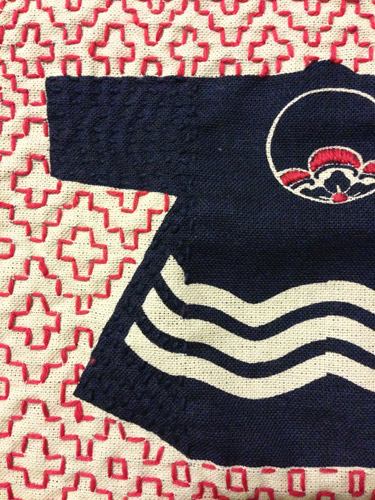
Here’s how the work is going so far. I’m rather pleased with the effect. It’s not noticeable at first, but it does help with the puckering caused by all the Persimmon Flower stitches by balancing things out.
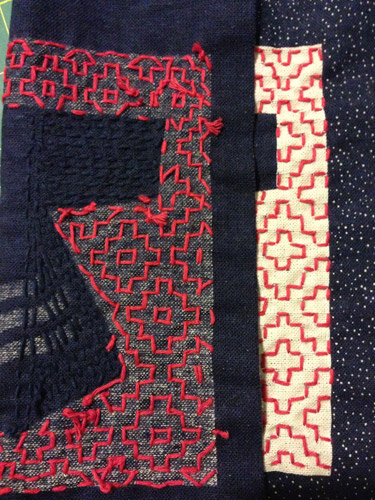
My stitches may not be even and tidy, but I prefer the handmade look of this project over some of the more stiff and precise projects I’ve worked on before. The Olympus preprinted kits area a wonderful way to get a feel for sashiko, but there are times I find it more fun to play around with ideas and make a bit of a mess, especially when I have no idea how the project will look until I’m done with it.
Part 4 is coming up.
